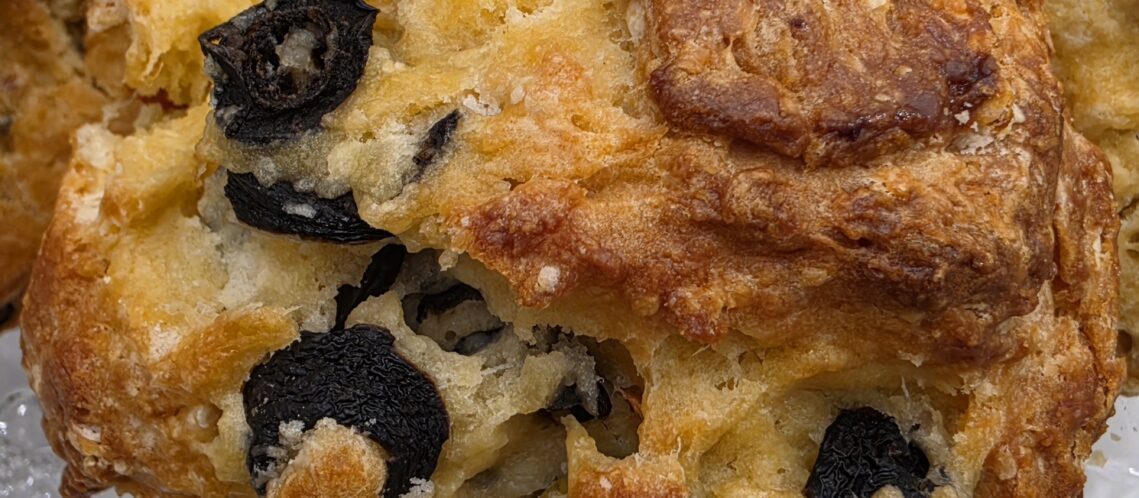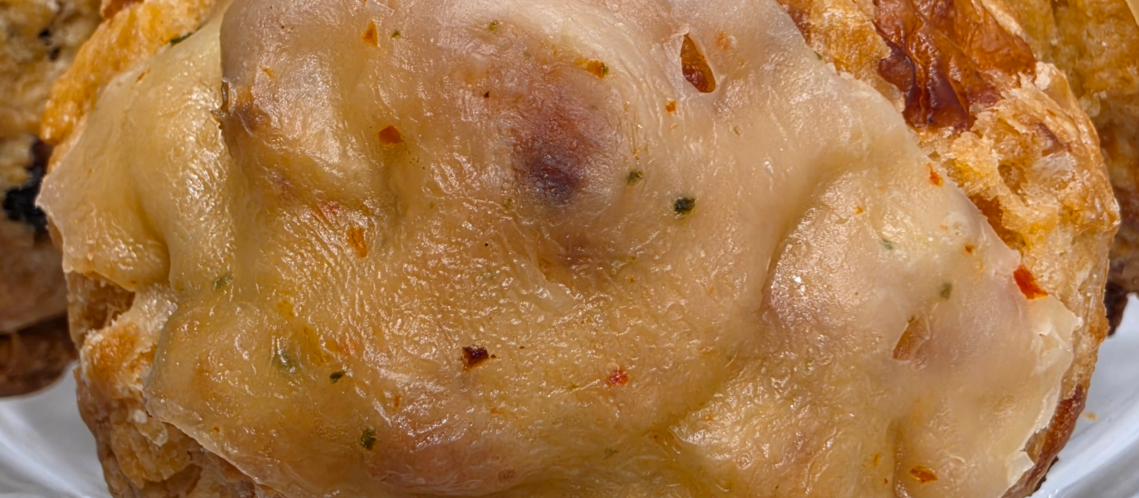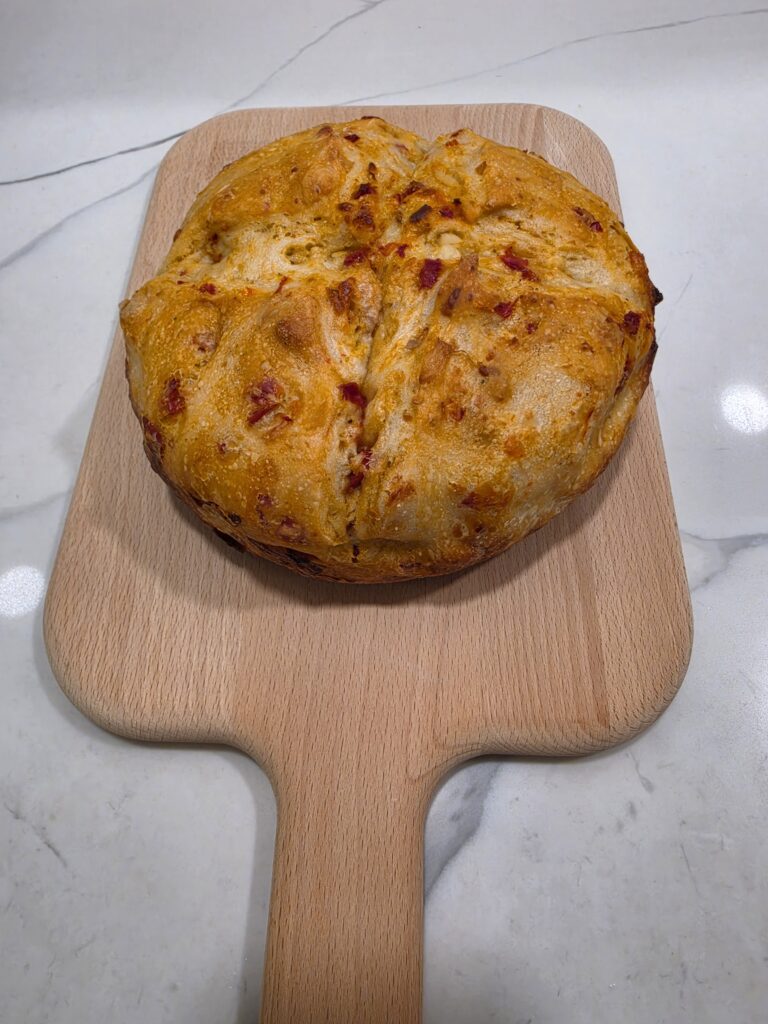
If you want to take your artisan baking to the next level, this savory sourdough bread is the ultimate recipe for you. Imagine a crackly golden crust filled with rich basil pesto, tangy sun-dried tomatoes, sweet roasted garlic, and a melted mix of Parmesan Cheese and Mozzarella Cheese.
This gourmet loaf tastes exactly like a premium artisan pizza wrapped inside a beautifully fermented sourdough structure. It is the perfect recipe to impress your family and friends.
Why You Will Love This Sun Dried Tomato & Basil Sourdough
If you’re looking to elevate your home baking, this Tomato & Basil Sourdough is the ultimate savory masterpiece. Here is why it will quickly become your favorite loaf to bake:
- Gourmet Italian Flavors: Imagine the taste of a premium artisan pizza wrapped inside a perfectly fermented sourdough loaf. The combination of sun-dried tomatoes, aromatic basil pesto, and creamy roasted garlic creates a rich, umami-packed flavor profile that is truly irresistible.
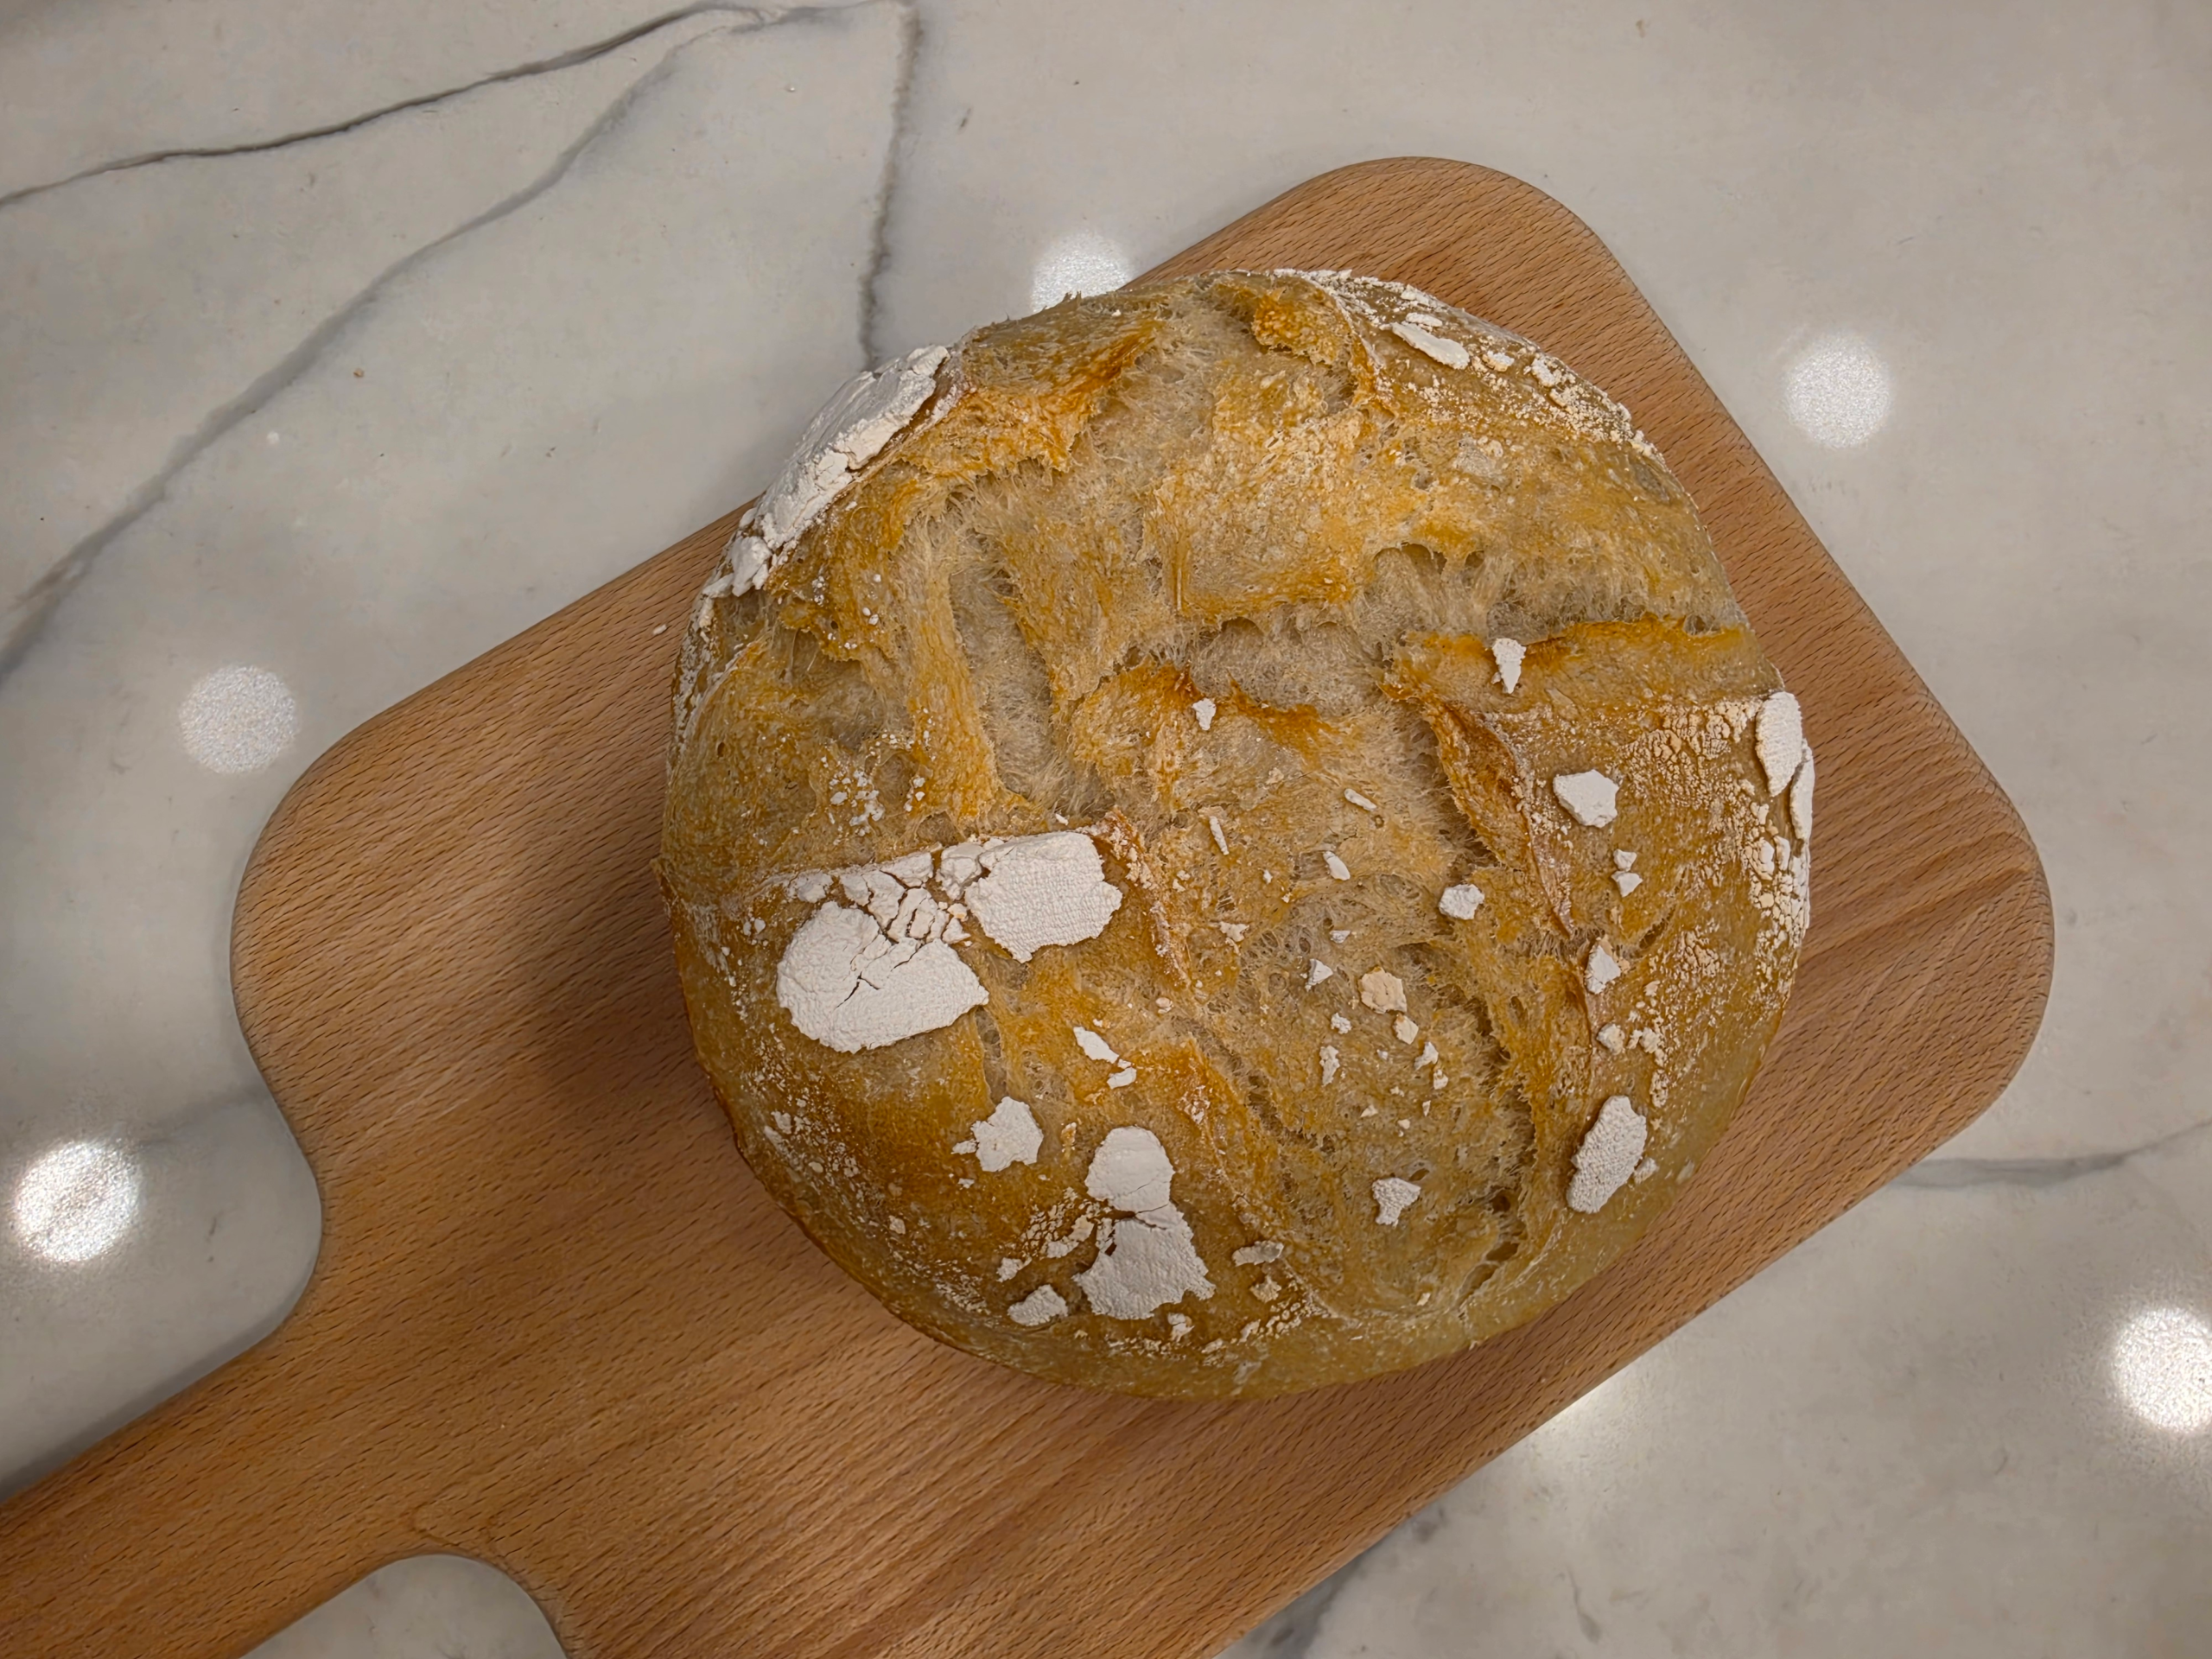
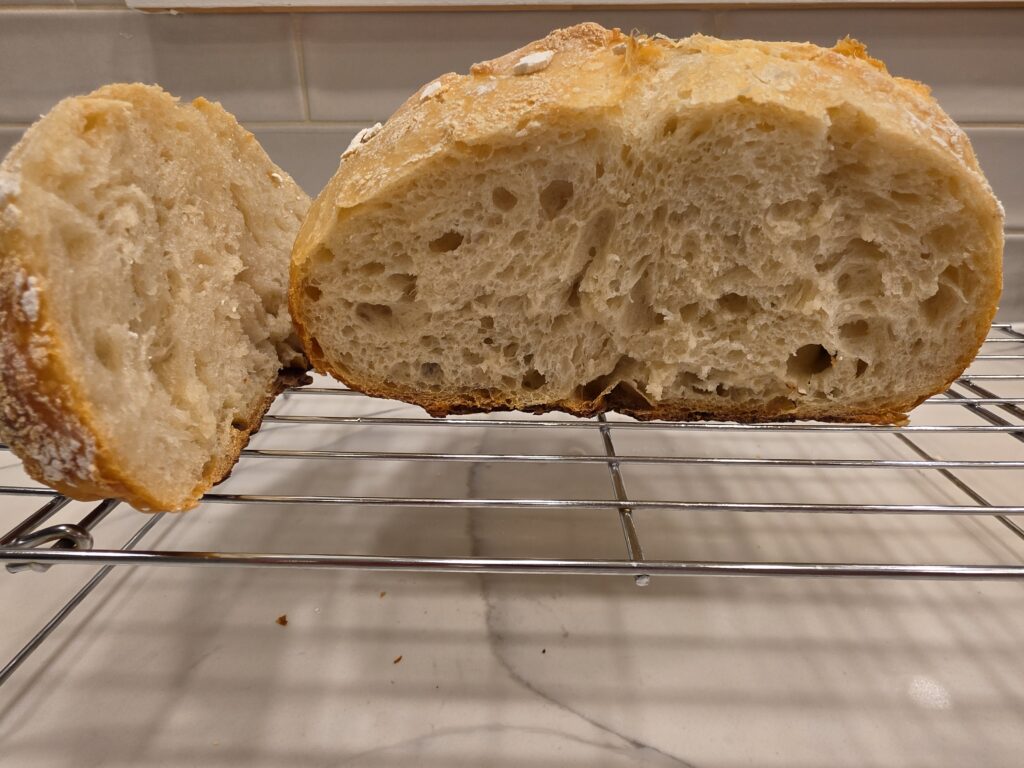
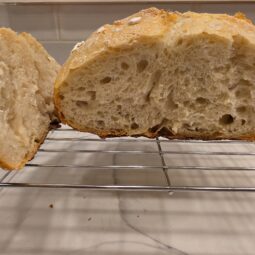
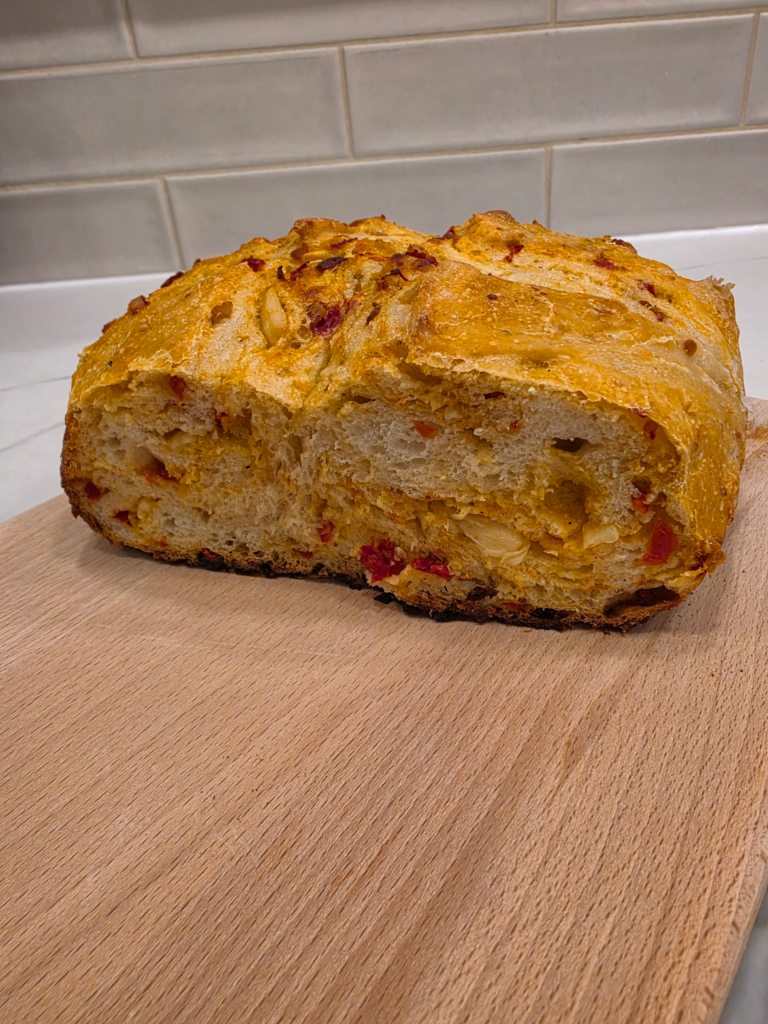
- Irresistible Texture: This bread offers the best of both worlds—a crackly, golden-brown crust that shatters with every bite, and a soft, airy interior filled with gooey, melted pockets of mozzarella and parmesan cheese.
- The Perfect Crowd-Pleaser: Whether you’re hosting a dinner party or simply want to impress your family, this loaf is a showstopper. It pairs beautifully with a warm bowl of tomato soup, a fresh salad, or just a simple drizzle of high-quality olive oil and balsamic vinegar.
- Endlessly Customizable: Once you master this base, it’s incredibly easy to tweak the fillings! From adding spicy chili flakes to swapping in feta and olives, you can create a signature bread that reflects your own unique taste.
🛒 🔗 Shop This Recipe (Recommended Tools & Ingredients)
🛠️Tools List
📝Ingredients List (Copy & Save!)
This recipe relies on high-quality ingredients to create that signature Italian bakery flavor. Here is what you’ll need:
- Bread Flour (350g): Provides the structure needed for a chewy, airy crumb.
- Warm Water (240g): The foundation for your sourdough hydration.
- Active Levain (100g): Ensure your starter is bubbly and active for the best rise.
- Salt (4g): Balances the flavors and strengthens the dough.
- Sun-Dried Tomatoes (50g): Drained and chopped; adds a sweet, tangy depth.
- Basil Pesto (20g): Infuses the loaf with fresh, herbal aromatics.
- Cheese Blend: 40g of cubed Mozzarella (for stretchy pockets) and 10g of Parmesan (for a savory, crispy crust).
- Roasted Garlic: About 10 cloves, roasted until buttery and sweet.
- Olive Oil
Step-by-Step Instructions
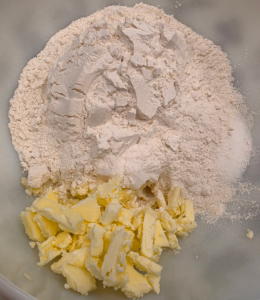
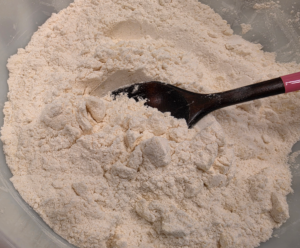
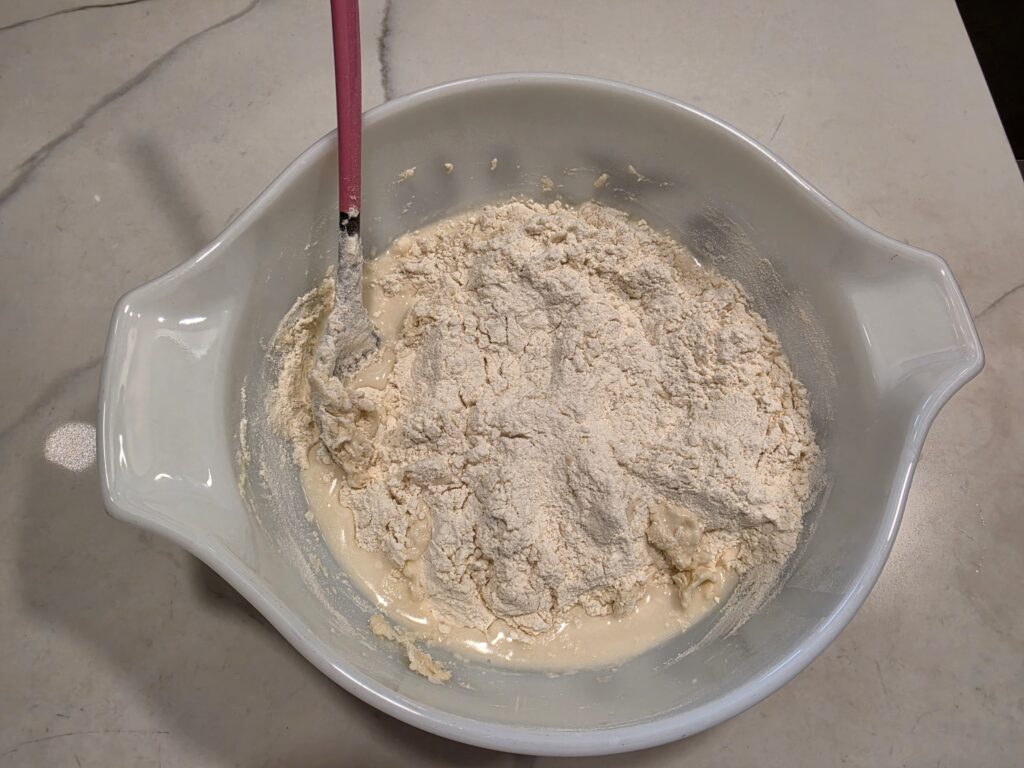
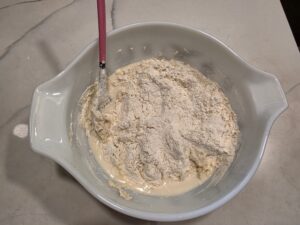
- The Autolyse (30 Mins): In a large mixing bowl, combine 350g of bread flour and 240g of warm water. Mix until no dry flour remains, cover, and let it rest for 30 minutes to develop the gluten.
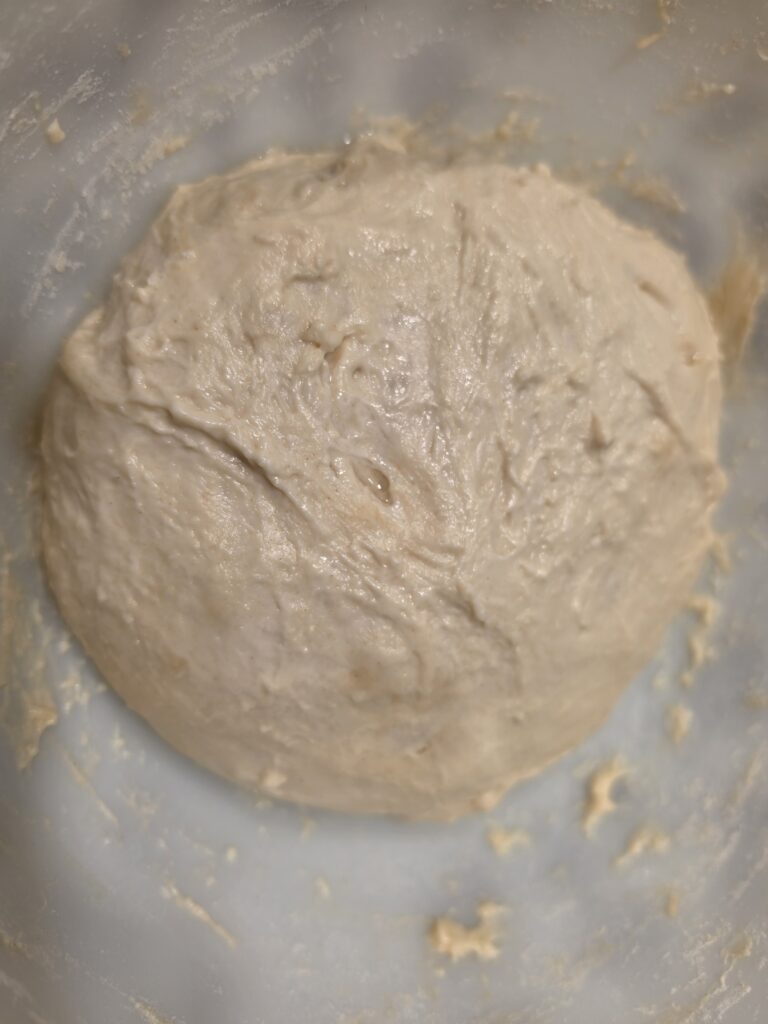
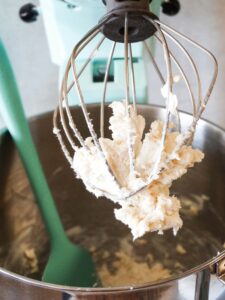
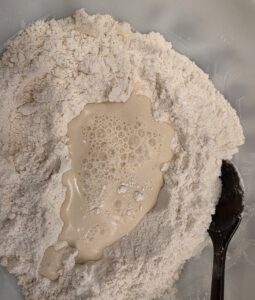
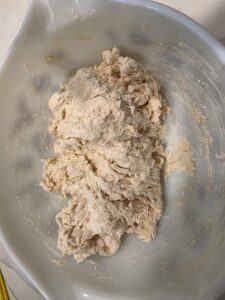
- Add Levain & Salt: Add 100g of active levain and 4g of salt. Pinch and squeeze the dough with your hands until fully incorporated and smooth.
- Bulk Fermentation: Let the dough ferment at room temperature. Perform 3 sets of “stretch and folds” every 30 minutes.
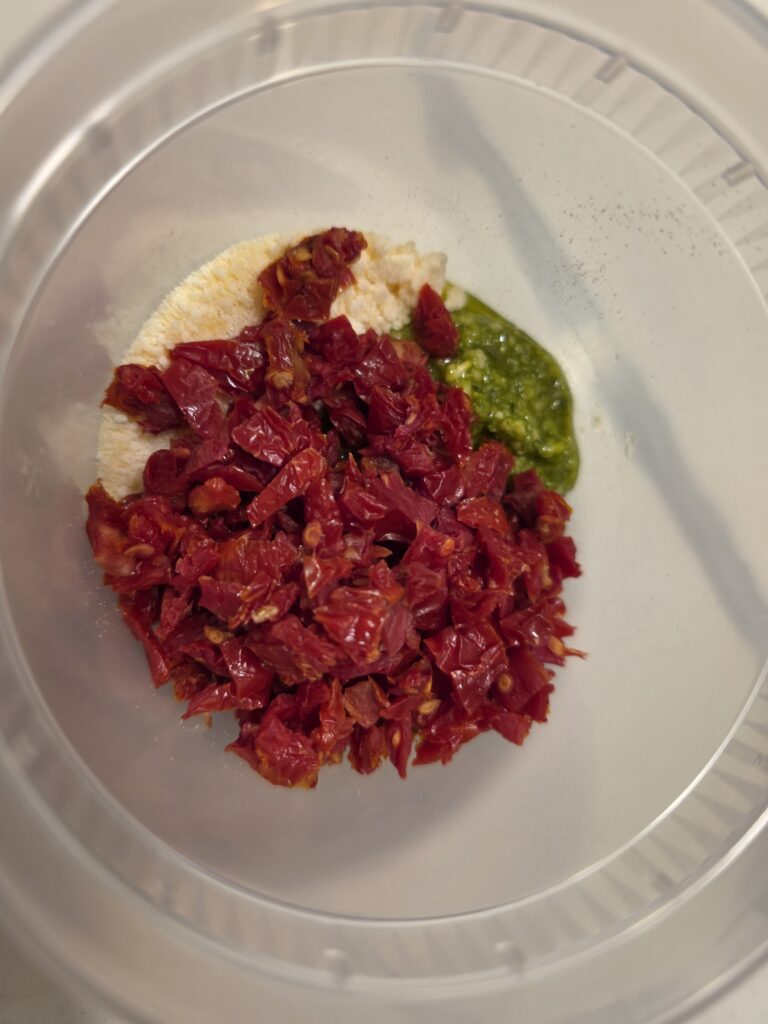
- The Lamination (Adding Fillings): On the 4th fold, stretch the dough into a large rectangle. Evenly spread the basil pesto, chopped sun-dried tomatoes, roasted garlic, and cheese cubes over the dough. Roll it into a tight bundle and let it rest for another hour.
- Shaping: Turn the dough onto a lightly floured surface. Gently tuck the edges to form a tight, round boule, being careful not to pop the cheese pockets.
- Preheating: Preheat your Dutch oven inside the oven at 245°C (475°F) for at least 45 minutes.
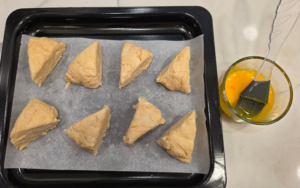
- Scoring & Baking: Flip the dough onto parchment paper and score the top with a sharp blade (lame). Bake inside the Dutch oven with the lid on at 245°C (475°F) for 20 minutes.
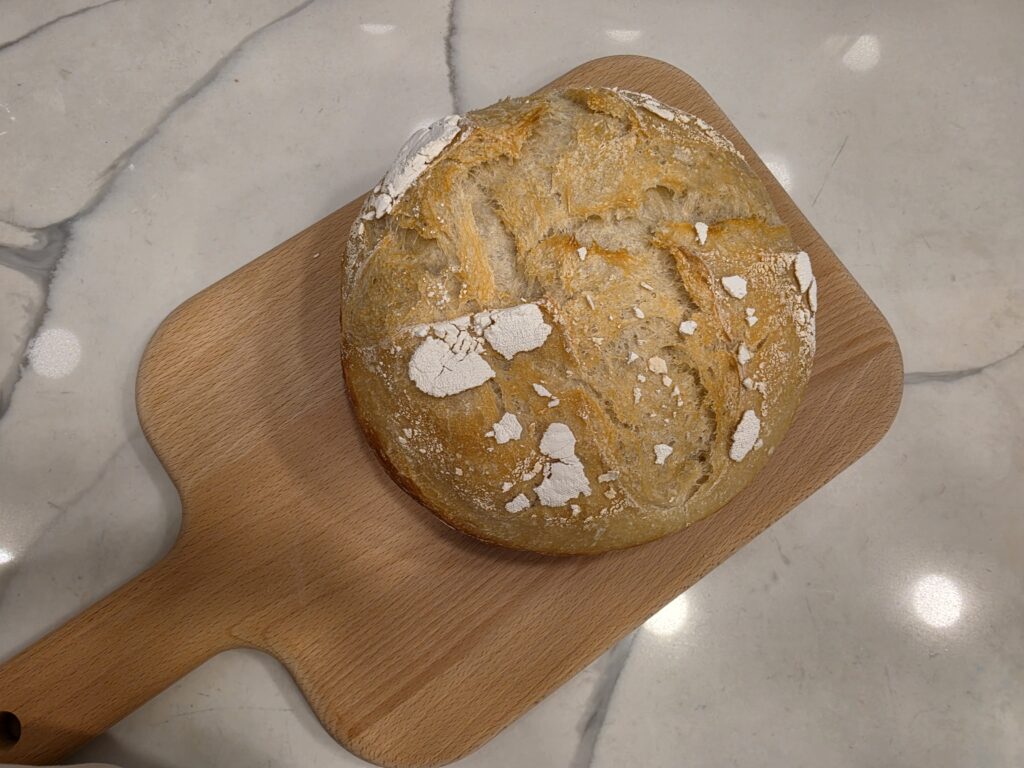
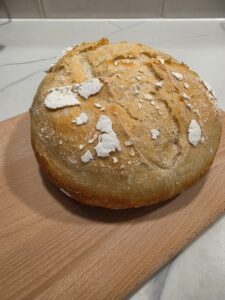
- The Golden Crust: Remove the lid, lower the temperature to 220°C (430°F), and bake for another 20 minutes until the parmesan crust is deep golden brown.
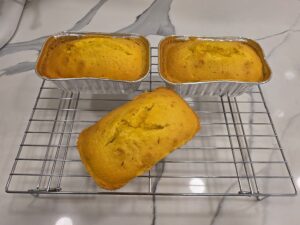
- Cooling: Transfer to a wire rack and let it cool for at least 2 hours. This is crucial for the cheese to set and the texture to become perfect.
Sweet Caroline’s Tips
Prevent Greasiness: Make sure to drain excess oil from your sun-dried tomatoes and pesto before adding them to the dough to prevent the interior from becoming too greasy.
Too much oil can weaken the gluten structure, leading to a flatter loaf.
Serving Suggestion: This bread is best enjoyed slightly warm, allowing the mozzarella pockets to stay perfectly soft and gooey.
Storage: Since it is loaded with real cheese and fresh ingredients, store any leftovers wrapped in a paper bag at room temperature for up to 2 days, or slice and freeze it immediately for a quick gourmet toast later!
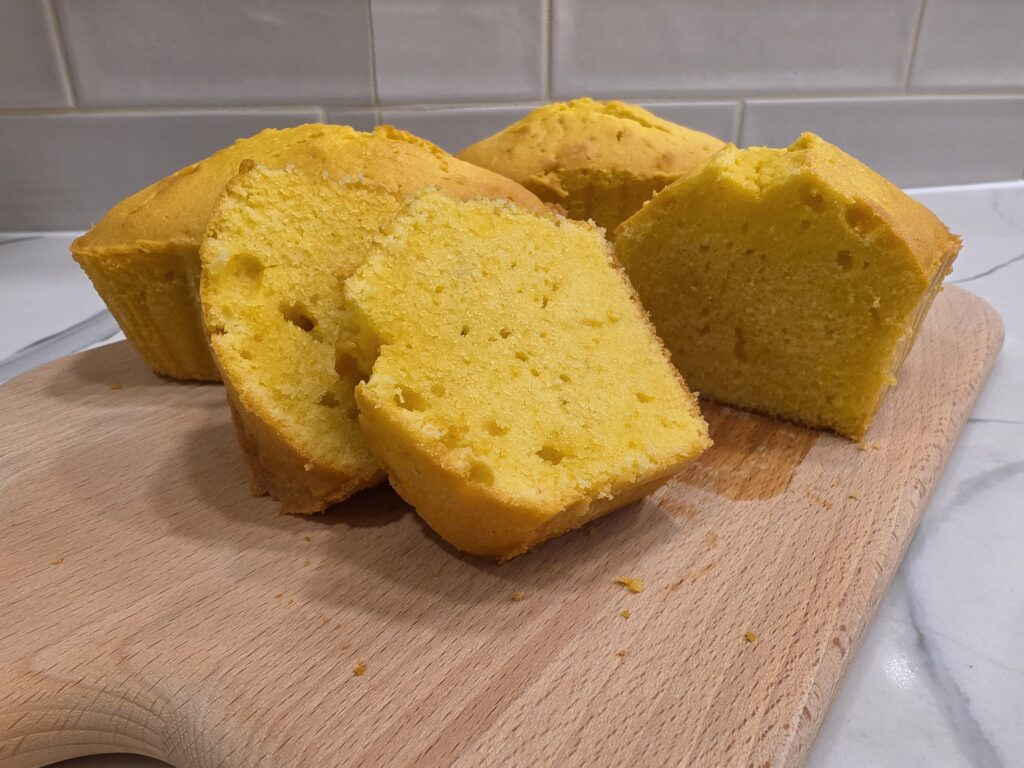
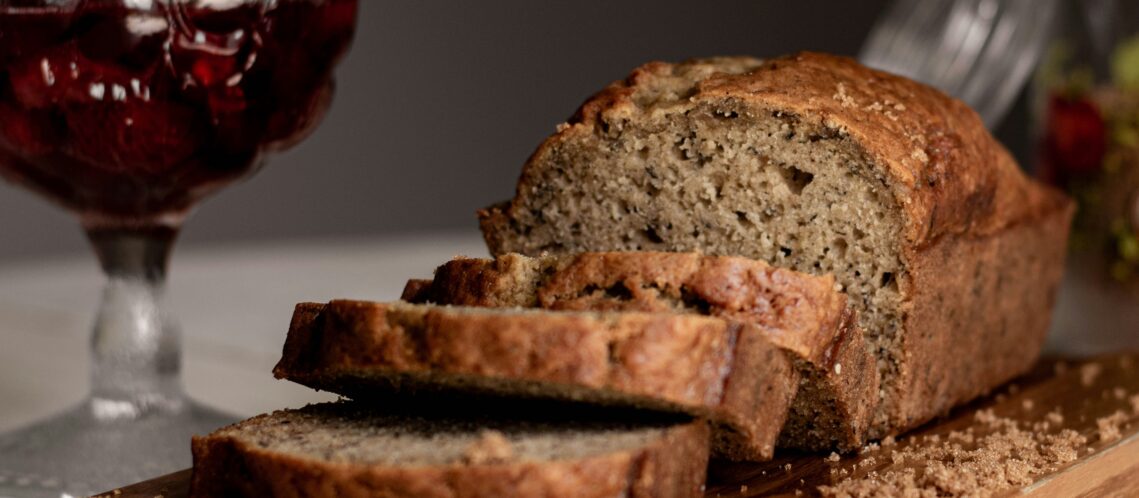
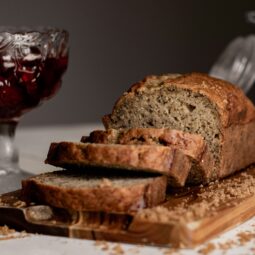
If you enjoy making comforting homemade goods, don’t forget to check out my sweet and moist Banana Bread Recipe for the perfect weekend baking contrast!
How to Roast Garlic for Sourdough
Roasting garlic changes everything! It removes the harsh bite of raw garlic and turns the cloves into sweet, buttery pockets that melt into your dough. Here is how to do it easily:
- Preheat & Prep: Preheat your oven to 200°C (400°F). Peel away the loose, papery outer layers of the whole garlic head, leaving the skins of the individual cloves intact.
- Cut the Top: Using a sharp knife, slice about 1/4 inch off the top of the garlic head to expose the raw cloves inside.
- Season: Place the garlic head on a piece of aluminum foil. Drizzle about 1 teaspoon of olive oil over the exposed cloves, and sprinkle with a tiny pinch of salt.
- Wrap & Bake: Wrap the garlic tightly in the foil. Bake in the oven for 35 to 40 minutes, until the cloves are completely soft and golden brown.
- Cool & Squeeze: Let it cool completely. Once cooled, simply squeeze the bottom of the garlic head, and the soft, sweet roasted cloves will pop right out, ready for your recipe!
Customize Your Savory Sourdough
Once you master this baseline recipe, you can easily tweak the ingredients to create your own signature variations.
Here are a few combinations that work beautifully with this exact same dough hydration.
1. The Spicy Mediterranean
Swap the traditional basil pesto for a fiery Chili Pesto (Pesto Rosso) or add a tablespoon of crushed red pepper flakes into the dough during the mix. This pairs incredibly well with the sweet roasted garlic and creates a beautiful spicy kick.
2. The Olive & Feta Twist
If you want a sharper, saltier flavor profile, replace the mozzarella with crumbled Feta Cheese and add a handful of chopped Kalamata olives alongside the Sun-dried tomatoes. It gives the loaf an authentic Greek bakery vibe.
3. The Herby Mushroom & Gouda
For a deeply earthy flavor, sauté some sliced wild mushrooms in olive oil with fresh rosemary. Let them cool completely, then laminate them into the dough with smoked Gouda Cheese instead of parmesan.
This savory sourdough bread recipe will definitely become a favorite in your kitchen.
Sweet Caroline’s Kitchen recipes here.
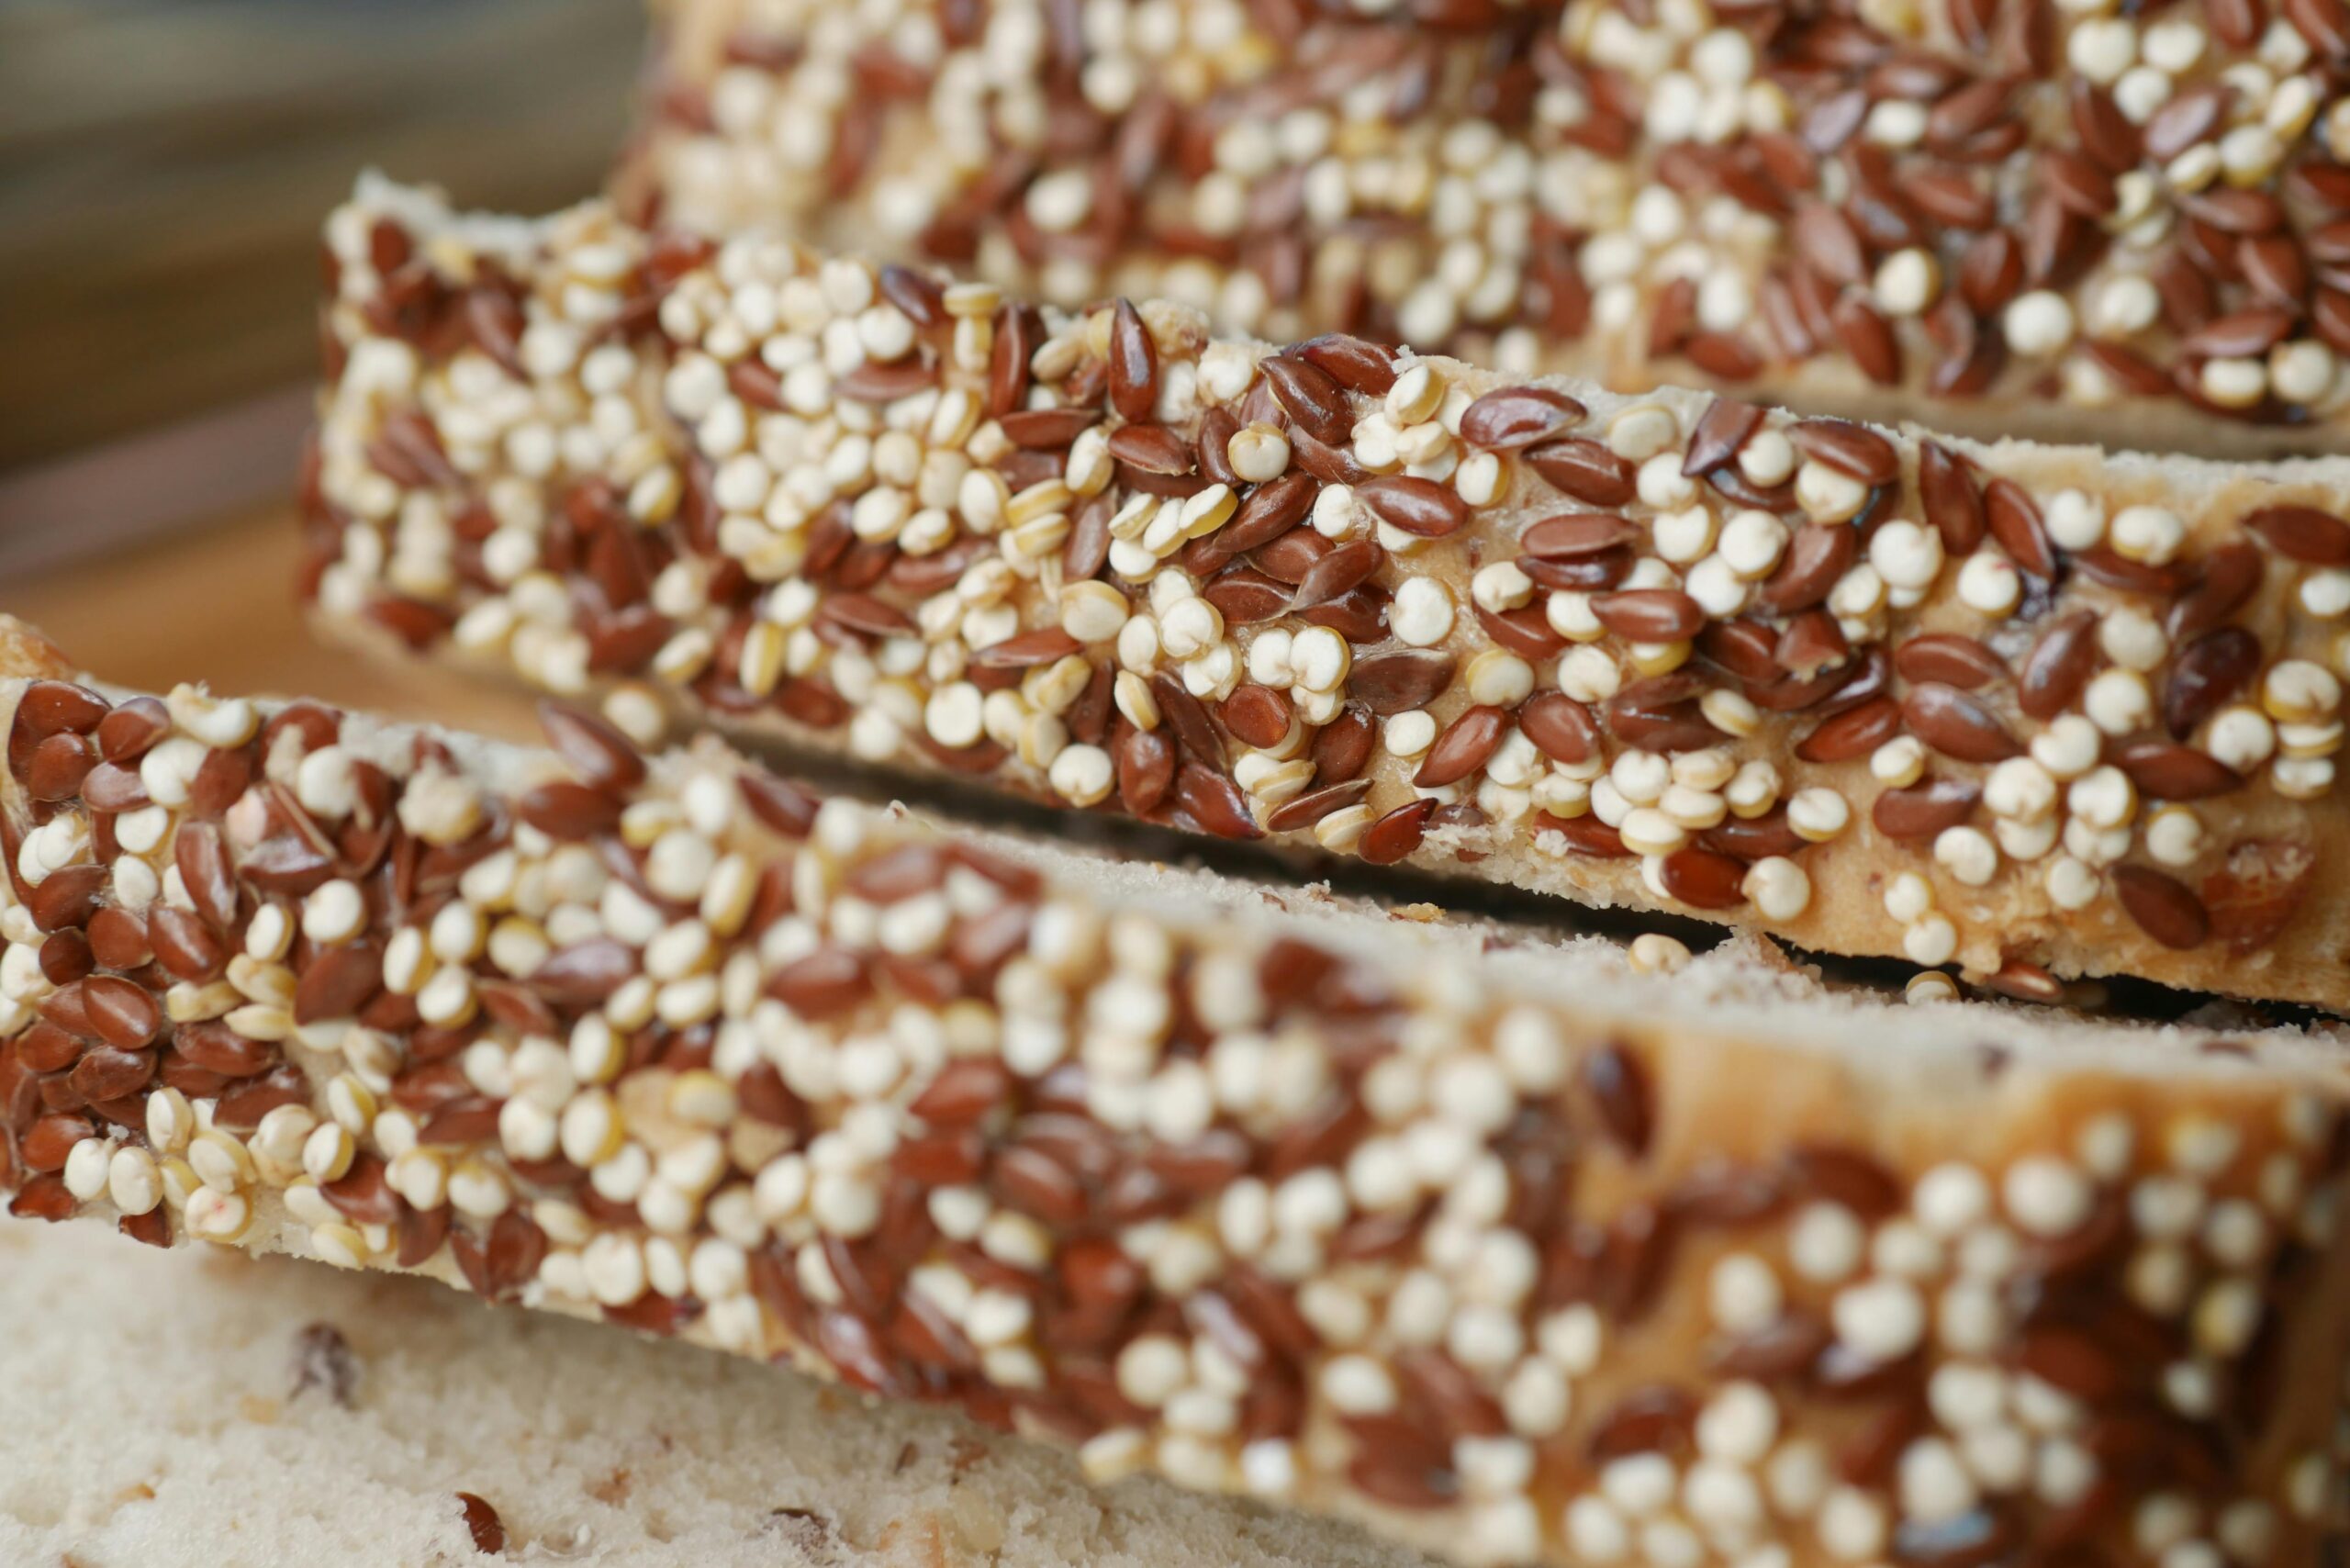
How to Make the Best Lighter & Moist Quinoa Bread

Sourdough Bread Recipe: Ultimate Sun-Dried Tomato & Basil Loaf
Equipment
- 1 Parchment Paper
- 1 Digital Scale
- 1 Mixing Bowl
- 1 Banneton Basket
- 1 Dutch Oven
Ingredients
- 350 g Bread Flour
- 240 g Warm Water
- 100 g Levain
- 4 g Salt
- 50 g Sundried Tomato
- 20 g Basil Pesto
- 10 g Parmesan Cheese
- 40 g Mozzarella Cheese
- 10 cloves Roasted Garlic
Instructions
- The Autolyse (30 Mins)In your large mixing bowl, thoroughly combine 350g of bread flour and 240g of filtered water until no dry flour remains. Cover the bowl and let it rest for 30 minutes to develop the gluten network.
- Add Levain & SaltDimple 100g of active, bubbly levain and 8g of fine sea salt into the rested dough. Pinch and squeeze the dough with your hands until the starter and salt are fully incorporated and the dough becomes smooth.
- Bulk Fermentation & Stretch:o Let the dough ferment at room temperature. Perform a total of 3 "stretch and fold" sessions, spaced 30 minutes apart. To stretch, wet your hands, grab one side of the dough, pull it gently upward, and fold it over the center. Rotate the bowl and repeat for all four sides.
- The Lamination (Adding Fillings)On the 4th fold, gently stretch the dough out on a clean, slightly damp surface into a large, flat rectangle. Evenly spread your 2-3 tablespoons of basil pesto, 50g of drained sun-dried tomatoes, roasted garlic cloves, and your mozzarella and parmesan cheese cubes over the surface. Gently roll and fold the dough back into a tight bundle and place it back in the bowl for another hour.
- Shaping the BouleTurn the dough onto a lightly floured counter. Gently tuck the edges underneath to shape it into a tight, round boule. Be careful not to pop the cheese pockets hiding under the skin.

- Cold Proofing (Overnight)Dust your banneton basket generously with rice flour or bread flour. Place your shaped dough smooth-side-down into the basket. Cover it with a plastic bag to prevent drying and place it in the refrigerator for a cold overnight rise (12–15 hours).
- Preheating & ScoringThe next morning, place your Dutch oven inside the oven and preheat it to 245°C (475°F) for at least 45 minutes. Gently flip your cold sourdough dough out of the banneton onto parchment paper. Use your razor blade (lame) to score a clean, deep slash across the top.
- The Cheesy BakeCarefully lower the dough (with the parchment paper) into the blazing hot Dutch oven. Put the lid on and bake at 245°C (475°F) for 20 minutes to melt the interior cheese.
- The Golden CrustRemove the lid, lower the oven temperature to 220°C (430°F), and bake for an additional 20 minutes. Watch closely as the parmesan cheese on the outside caramelizes into a deep, crispy, golden-brown crown.
- The Cool Down: Transfer your baked loaf to a wire cooling rack. Resist the temptation to cut it immediately! Let it cool completely for at least 2 hours so the melted mozzarella sets and the crumb doesn't become gummy.