Moist Marble Pound Cake — A Classic Where Softness Meets Deep Flavor
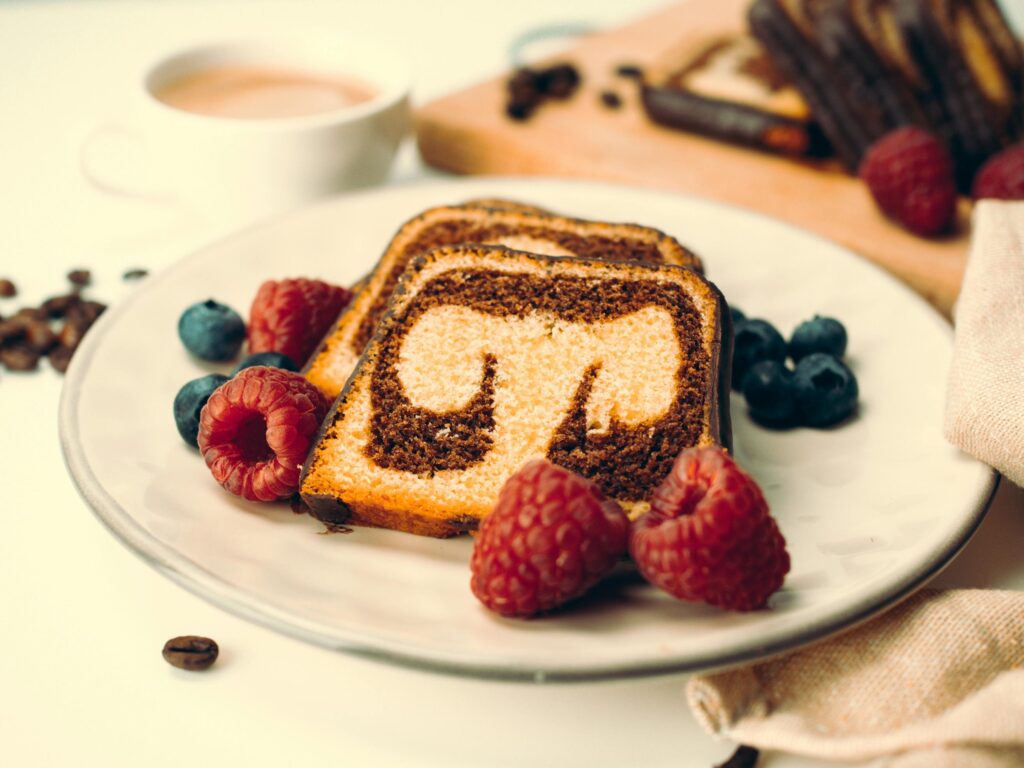
A moist marble pound cake is the beautiful meeting point of vanilla’s soft warmth and chocolate’s deep richness, blending effortlessly into a single slice. From the moment you swirl the batters together to the moment it rises in the oven, the curves and waves of the two colors create patterns that look like tiny edible artworks.
The crust bakes up lightly crisp and fragrant, while the inside stays tender and moist. With every bite, the cozy sweetness of vanilla and the bold depth of chocolate take turns revealing themselves. It pairs wonderfully with coffee, and its striking appearance makes it a perfect gift that delights anyone who receives it.
🛒 🔗 Shop This Recipe (Recommended Tools & Ingredients)
🛠️Tools List
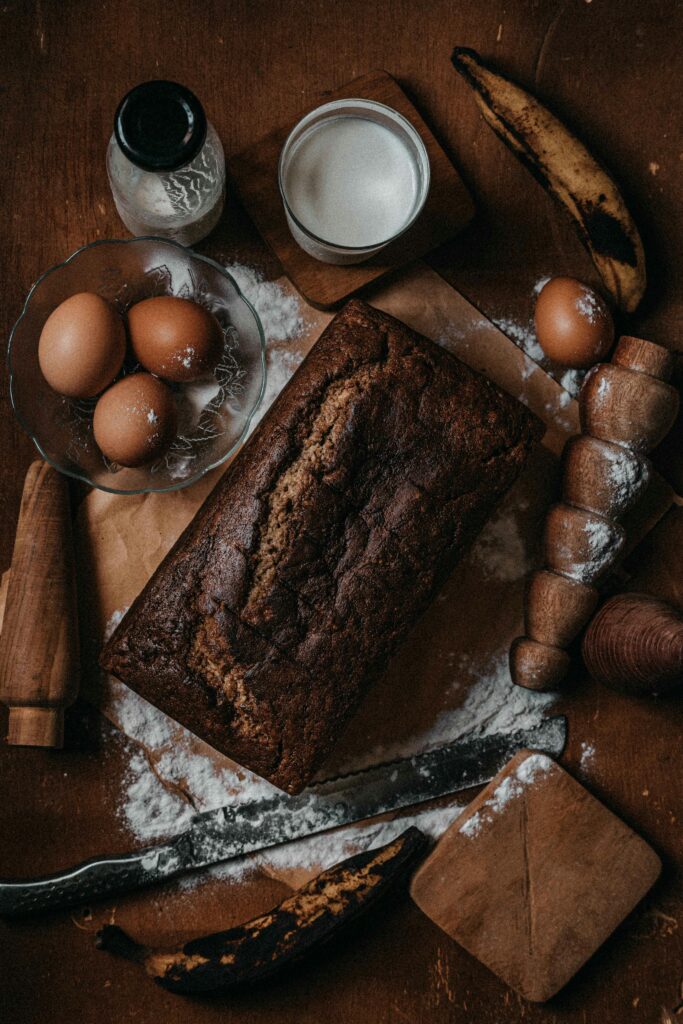
📝 Ingredients List (Copy & Save!)
453g Unsalted Butter
430g Sugar
453g Cake Flour
453g Eggs
60g Callebaut D811 Dark Chocolate
50ml Whole Milk OR Heavy Cream
5ml Vanilla Extract
2.5g Salt
Sweet Caroline’s Kitchen recipes here.
The Charm of Marble Swirls
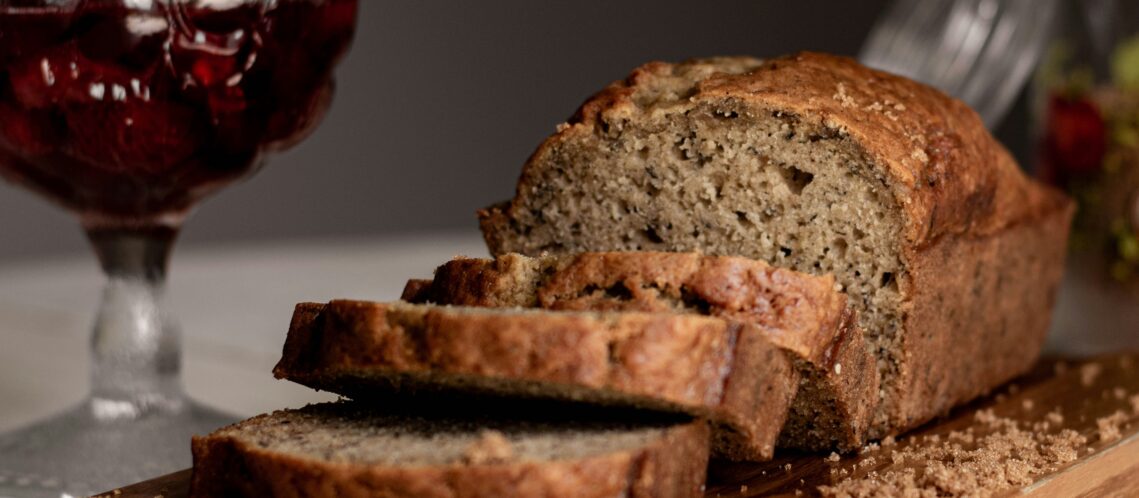
Visual Beauty
Cutting into the loaf reveals natural, flowing marble patterns that never fail to impress.
Harmony of Two Flavors
The gentle vanilla and the rich chocolate alternate beautifully, creating a flavor that never feels repetitive.
Contrast in Texture
The chocolate portion tends to be slightly richer and moister, while the vanilla portion stays light and soft.
Endless Variations
You can add orange zest, espresso powder, rum, or other accents to create your own unique version of a marble cake.
Makes a Marble Pound Cake Moist and Perfect
1. The Right Fat Balance
Butter brings richness, but adding a touch of oil or melted chocolate keeps the crumb moist for days. This is why bakery‑style marble cakes stay soft even on the second day.
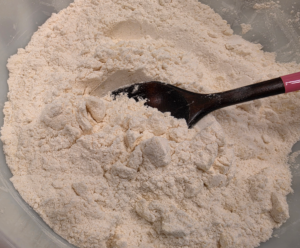
2. Proper Mixing Technique
Overmixing can make the cake dense. Creaming the butter and sugar thoroughly, then folding the flour gently, creates that soft, melt‑in‑your‑mouth texture.
3. Moisture‑Boosting Ingredients
A spoonful of sour cream, yogurt, or milk adds tenderness and prevents dryness. The chocolate batter especially benefits from added moisture to stay fudgy and rich.
4. Slow, Even Baking
Marble pound cakes bake best at a slightly lower temperature. This keeps the swirl pattern clean and prevents the cake from drying out.
Perfect Pairings
A moist marble pound cake pairs beautifully with:
- A warm cup of coffee or latte
- Lightly sweetened whipped cream
- A drizzle of chocolate ganache
- Fresh berries for a refreshing contrast
It’s the kind of cake that feels both nostalgic and elegant— simple enough for everyday baking, yet impressive enough for gifting.
This traditional bakery-style treat is the ultimate easy recipe for home baking. Whether you are a beginner or an experienced baker, making this classic pound cake brings pure joy to your tea time.
How do you keep a marble pound cake moist?
To keep your marble pound cake incredibly moist, ensure you don’t overmix the batter after adding the cake flour. Additionally, storing the cake in an airtight container at room temperature keeps the crumb tender and prevents it from drying out for days.
Why is my marble cake dense or heavy?
A dense pound cake usually happens if the butter and sugar weren’t creamed long enough, or if the eggs were added too quickly, causing the batter to separate.
Make sure your ingredients are at room temperature to achieve that perfect, fluffy bakery texture.
How to Melt Callebaut D811 Chocolate Safely
Chocolate is highly sensitive to heat. If it gets too hot, it can burn or become clumpy. Follow these steps for a perfectly smooth melt.
Method 1: Using a Microwave (Quickest & Easiest)
The key to microwave melting is heating in short bursts to prevent the chocolate from burning.
Total Time: 1.5 to 2 minutes
Instructions:
Place 60g of Callebaut D811 chocolate into a microwave-safe bowl.
1. Microwave for 30 seconds, then take it out and stir gently with a spatula. (It might not look melted yet, but the heat is starting to distribute.)
2. Microwave for another 20 to 30 seconds, then stir again, breaking up any large lumps.
3. From this point, microwave in 10-second intervals only. Stir well between each burst until the remaining chunks melt completely from the residual heat.
Method 2: Using a Double Boiler (The Professional Standard)
This is the safest method as it uses gentle steam heat, preserving the rich flavor of the chocolate.
- Total Time: 3 to 5 minutes
- Instructions:
- Fill a small pot with a bit of water and bring it to a boil. As soon as it starts bubbling, turn off the heat completely. (Continuous boiling will overheat the chocolate.)
- Place your bowl of chocolate securely on top of the pot.
- ★CRITICAL NOTE: Make sure not a single drop of water or steam gets into the chocolate bowl. Even a tiny bit of moisture will cause the chocolate to “seize” and turn into a stiff, grainy paste.
- Stir slowly and constantly with a silicone spatula until the gentle residual steam melts the chocolate into a smooth, glossy liquid.
Whichever method you choose, let the melted chocolate sit on the counter until it cools down to lukewarm (around body temperature, 35–38°C). Test a tiny drop on the back of your hand—it should feel neither hot nor cold. Once it reaches this temperature, it is safe to fold into your 1/3 cake batter without cooking the eggs!
Important Temperature Check Before Mixing
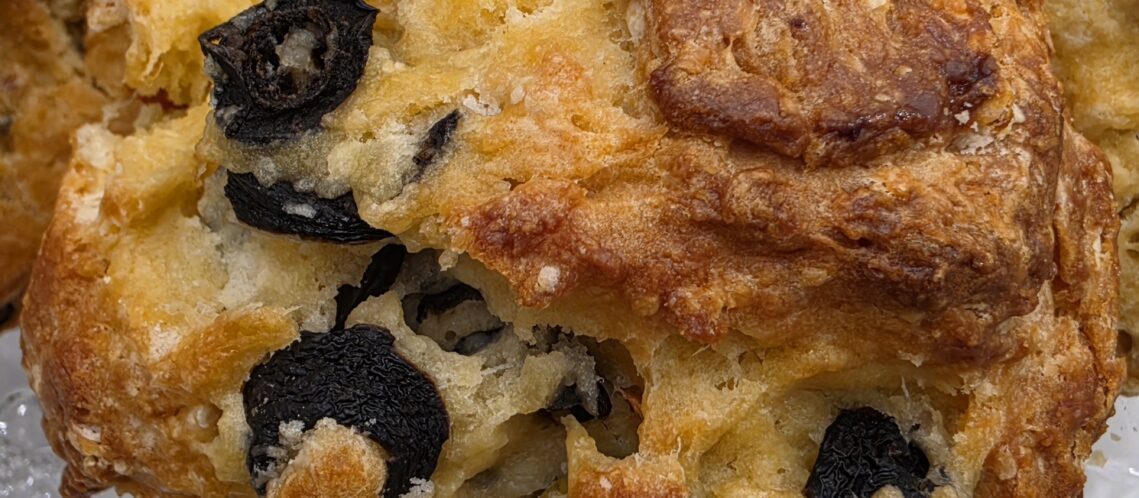
Since this recipe uses real chocolate (Callebaut D811), the chocolate marble parts will bake up with a fudgier, richer, and more brownie-like texture compared to the light vanilla base. For the absolute best flavor, wrap the completely cooled cake tightly and let it rest until the next day—the moisture from the butter and chocolate will distribute evenly, making it incredibly moist and rich!

Best Moist Marble Pound Cake
Equipment
- 1 KitchenAid OR Hand Mixer
- 2 Mixing Bowls
- 1 Silicone Spatula
- 1 Digital Scale
- 1 Sifter
- 1 Loaf Pan 9×5
- 1 Parchment Paper
- 1 Paring Knife
- 1 Silicone Brush
- 1 Cooling Rack
Ingredients
- 453 g Unsalted Butter
- 430 g Sugar
- 453 g Cake Flour
- 453 g Eggs 7-8 ea
- 5 g Baking Powder
- 2.5 g Salt
- 5 ml Vanilla Extract
- 50 ml Whole Milk OR Heavy Cream
- 15 g Unsweetened Cocoa Powder
- 60 g Callebaut D811 Dark Chocolate
- 15 ml Whole Milk OR Heavy Cream
Instructions
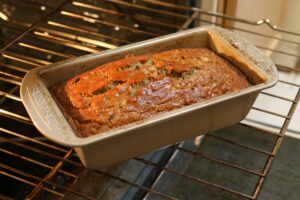
- Prepare the PanGrease a loaf pan and line it with parchment paper. Preheat the oven to 325°F(165-170°C ).
- Melt 60g of Callebaut D811 chocolateUse a double boiler or microwave, then let it cool until it is lukewarm (around body temperature). Note: If it’s too hot, it may cook the eggs in the batter!
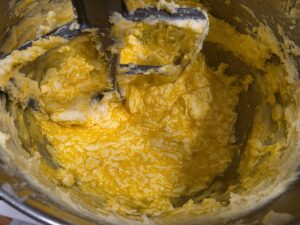
- Cream Butter and SugarIn a large bowl, beat the softened unsalted butter (453g) and sugar (430g) together until the mixture becomes light, fluffy, and pale ivory in color.
- Incorporate Eggs Add the eggs (7–8 count, 453g) one at a time, mixing thoroughly after each addition to prevent the batter from separating. Stir in the vanilla extract (5ml).
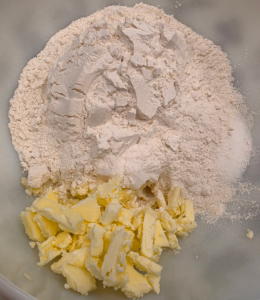
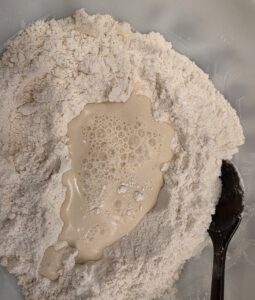
- Fold Dry Ingredients & Milk: Sift together the cake flour (453g), baking powder (5g), and salt (2.5g). Add this dry mixture to the batter in portions, alternating with the first pour of milk (50ml). Mix gently with a spatula just until no raw flour is visible—do not overmix.
- Dividing the Batter & Creating the Chocolate Marble(Use 2nd Milk) Separate 1/3 of the Batter: Transfer about 1/3 of the completed vanilla batter into a separate mixing bowl.Blend Chocolate Elements Add the unsweetened cocoa powder (15g) and the melted, lukewarm Callebaut D811 dark chocolate (60g) into the separated 1/3 batter.Adjust Consistency To keep the chocolate portion from getting too dense or stiff from the cocoa powder, pour in the additional splash of milk (15ml). Mix until the chocolate batter is completely smooth and matches the consistency of the vanilla base.
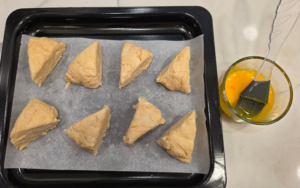
- Layer & Swirl: Alternately spoon the vanilla and chocolate batters into your prepared loaf pan. Run a skewer or a butter knife gently through the layers in a large 'S' shape 2 to 3 times to create a beautiful marble pattern.
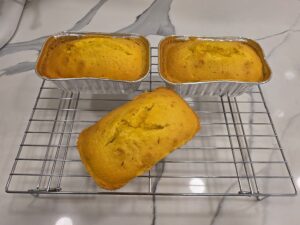
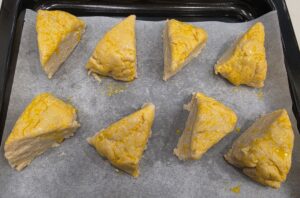
- Bake Bake in your preheated oven at 325°F (165–170°C) for about 40 minutes, or until a toothpick inserted into the center comes out clean.
- ServeSlice and enjoy with coffee, whipped cream, Ice Cream or fresh berries.